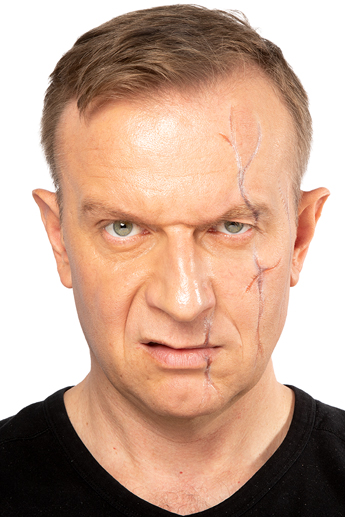
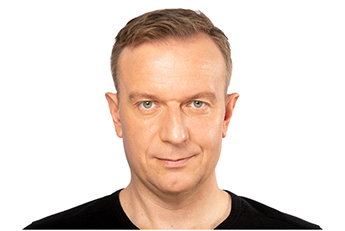
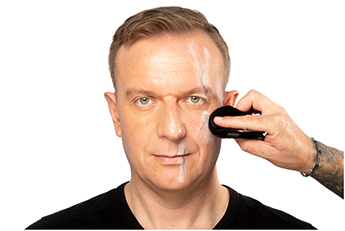
Before
The skin is first prepared with Clean & Care Natural Micellar Water 120 ml to remove all oils from the skin surface.
The skin is first prepared with Clean & Care Natural Micellar Water 120 ml to remove all oils from the skin surface.

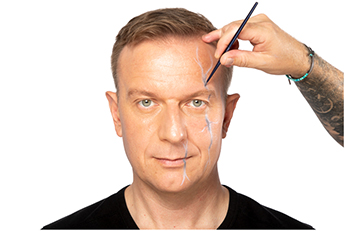
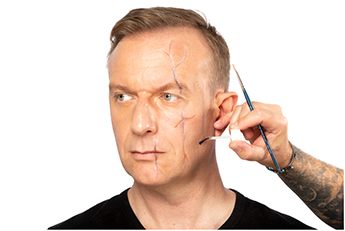
Step 1
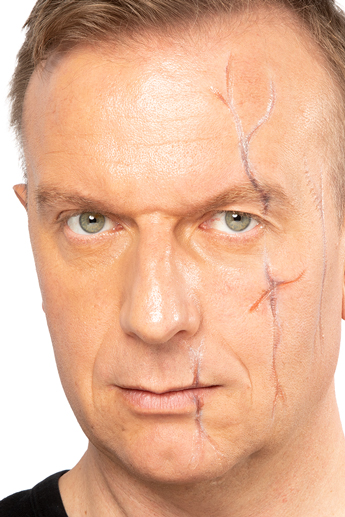
From the Coloring Vision Palette 18 Colors (Vivid), R 27 and Blue 5 are mixed with a small amount of 070 (white) to create the impression of deeply scarred tissue. Then, using a fine brush, lightly apply the mixed shade to the skin and trace the indicated scar. Apply the color in different widths to give a more realistic impression.
From the Coloring Vision Palette 18 Colors (Vivid), R 27 and Blue 5 are mixed with a small amount of 070 (white) to create the impression of deeply scarred tissue. Then, using a fine brush, lightly apply the mixed shade to the skin and trace the indicated scar. Apply the color in different widths to give a more realistic impression.
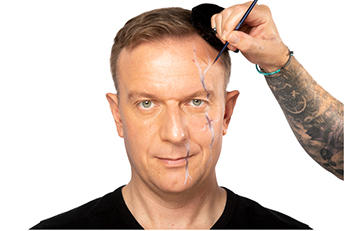
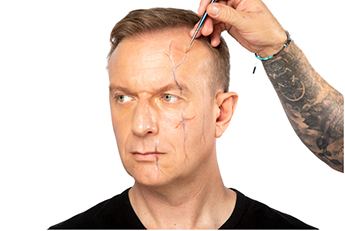
Step 2
517 (gray) from the same palette is then used for the next step. Deepen parts of the scars with a fine brush tip to give depth.
517 (gray) from the same palette is then used for the next step. Deepen parts of the scars with a fine brush tip to give depth.
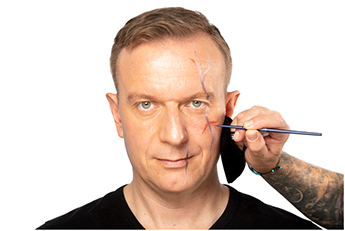
Step 3
Again, from the same palette, place 081 right in the middle of the previously applied 517. This gives the impression of transparency through the scarred tissue to the inner muscles/flesh.
Again, from the same palette, place 081 right in the middle of the previously applied 517. This gives the impression of transparency through the scarred tissue to the inner muscles/flesh.
Step 4
Now 079 comes into play. Apply the color lightly to give the impression of a more superficial scar. This helps to show the varying depths of scarring.
Now 079 comes into play. Apply the color lightly to give the impression of a more superficial scar. This helps to show the varying depths of scarring.
Step 5
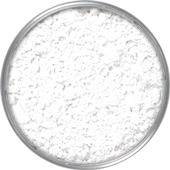
Using a powder puff, apply Translucent Powder 60 g (TL 1) over the Supracolor to set it. The excess is then removed with a soft powder brush.
Using a powder puff, apply Translucent Powder 60 g (TL 1) over the Supracolor to set it. The excess is then removed with a soft powder brush.
Step 6
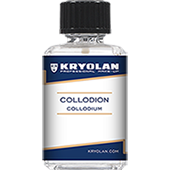
Collodion 30 ml can then be layered over the color detail to create the effect of depressed scars. The product is best suited for the fleshier parts of the face and body. It is advisable to stretch the skin a bit to achieve a deeper effect. Additionally, using heat with the help of a hair dryer can speed up the drying process. For best results, work in fine layers.
Collodion 30 ml can then be layered over the color detail to create the effect of depressed scars. The product is best suited for the fleshier parts of the face and body. It is advisable to stretch the skin a bit to achieve a deeper effect. Additionally, using heat with the help of a hair dryer can speed up the drying process. For best results, work in fine layers.
Step 7
On the back ends of the colored scars, you can finally apply a little more Collodion 30 ml with a fine brush. This provides a more natural transition from the natural skin to the scars.
On the back ends of the colored scars, you can finally apply a little more Collodion 30 ml with a fine brush. This provides a more natural transition from the natural skin to the scars.